Wood Stripping
1. The first strip, made up of a black walnut and pine, was positioned at the sheer line.
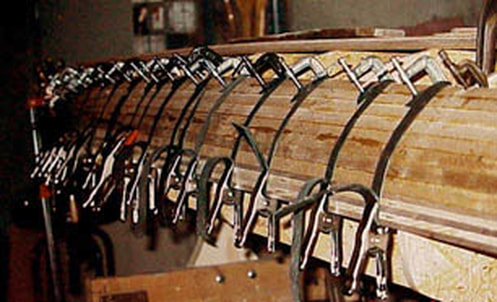
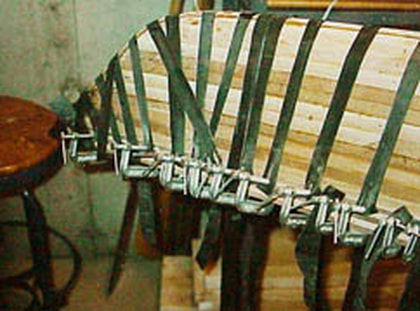
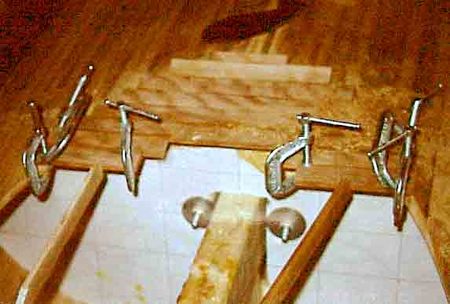
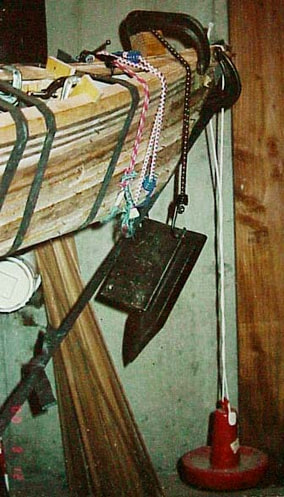
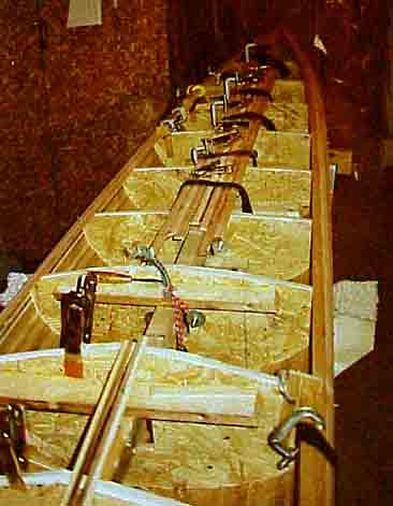
3. Glue, nails and a unique clamping system that used rubber bands cut from an old truck tire's inner tube were needed to ensure a tight fit.
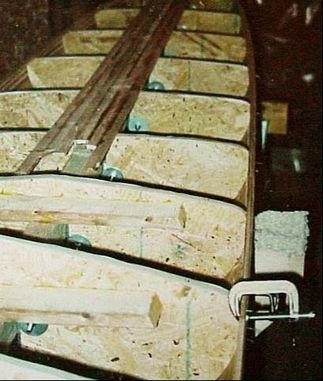
5. Stripping toward the center line from both sides, ready for a center king strip of black walnut and ash.
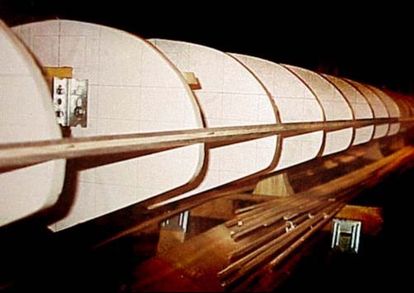
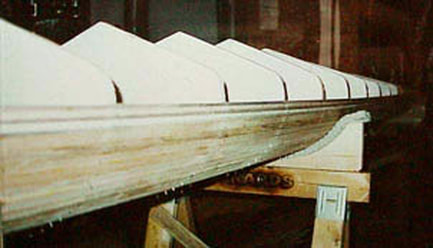
7. More strips were fitted to complete the bottom of the hull
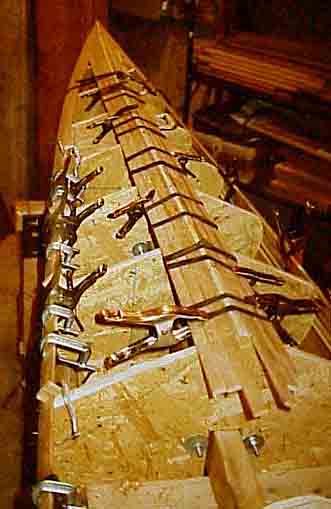
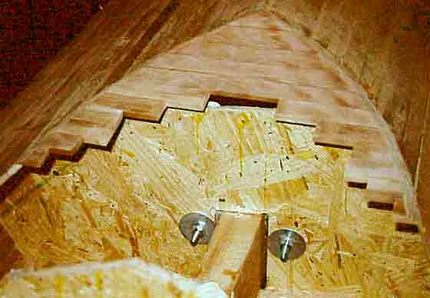
9. A strip of ash glued in to form an outside stem, complete with clamping system.
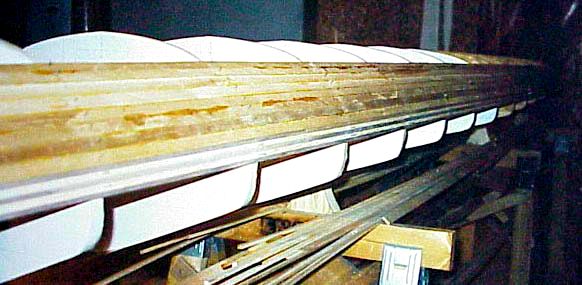
11. Looking along the shear line. Note how much deeper the bow section is versus the stern section.
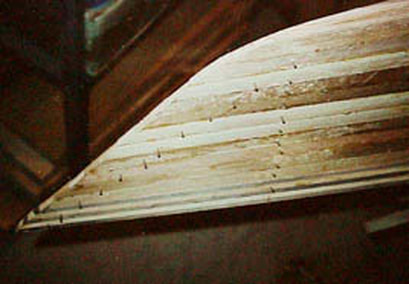
13. The first strips of black walnut-pine-pine-black walnut is fitted on the bow's deck.
15. Looking back along the top of the rear deck.
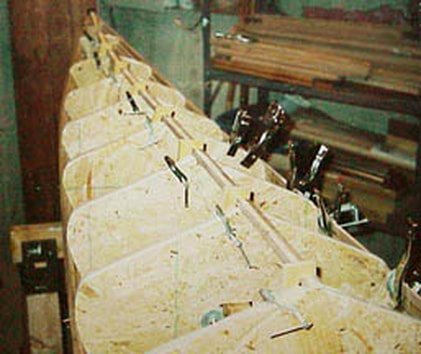
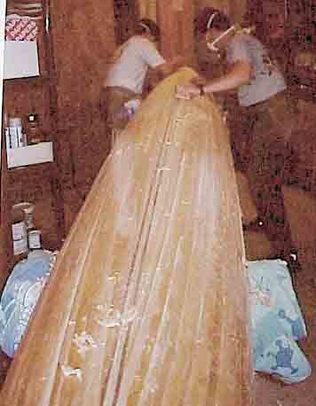
17. Stripping the forward deck
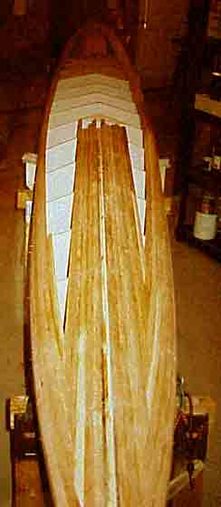
19. View of the deck with the clamps temporally removed
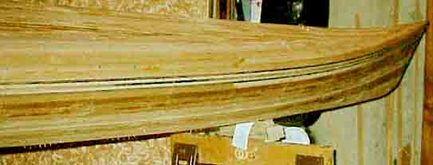
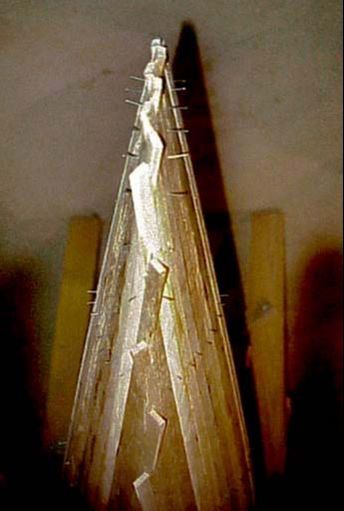
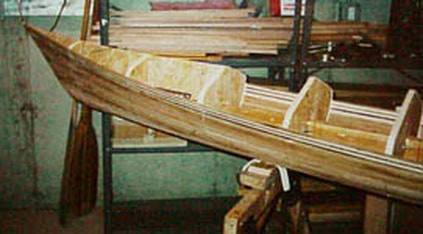
21. Side profile of the stripped bow section
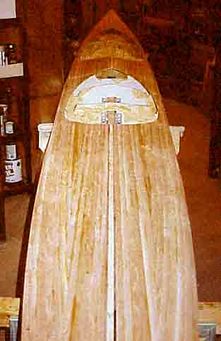
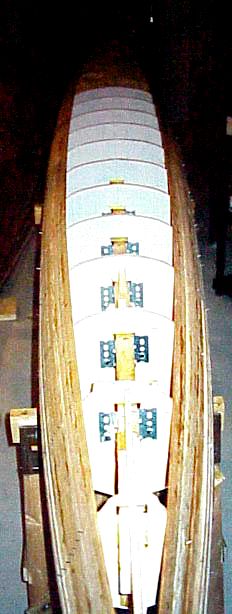
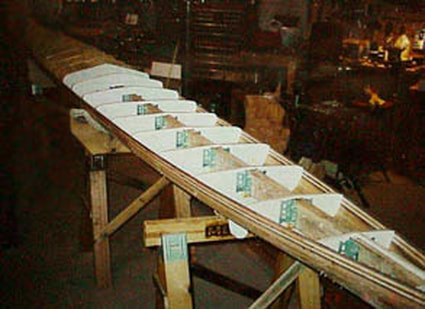
23. View of the stripped Double Helix with cockpits cut out, ready for fairing.
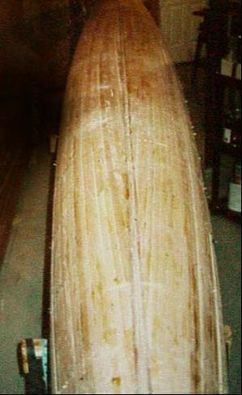
25. ..... and lower hull using block planes, large home-made sanding boards and random orbital sanders
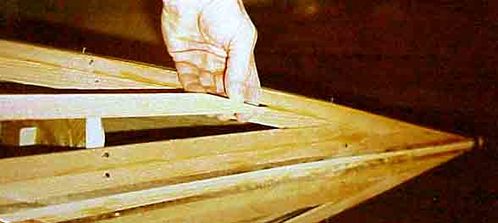
27. Flame Cherry strips were cut and fitted to the cockpit edges
|
2. Clark cut all the wood strips for the canoe out of clear grain ceder boards. Each strip was then routered with a bead on one edge, and a cove on the other. The kayak took twice as many strips in total than a single canoe. The strips were added one at a time, using a clamp/dowel/rubber band setup that Clark invented.
4. The strips alternate sides as they cross the ends (stern shown).

6. A center king strip of black walnut-ash-ash-black walnut was made and fitted.
8. The overlapping strips at each end were filed away.
10. The craft was now turned over to work on the deck.
12. The bow, with it's sweeping upturned profile.
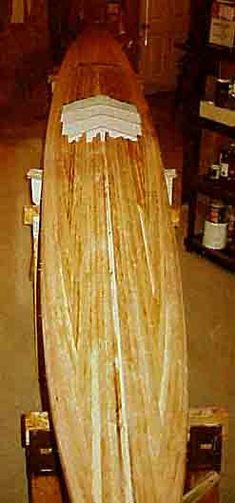
14. Some of the bow's strips required a bit of coaxing to fit properly. (Note the anchor and anvil used to help bend a strip into place.)
16. The strips on the deck were first beveled before adding a bead and cove to their edges, insuring an accurate fit.
18. Stripping the rear deck.
20. View of the deck, fully stripped.

22. Paper patterns were used to trace out the cockpits.
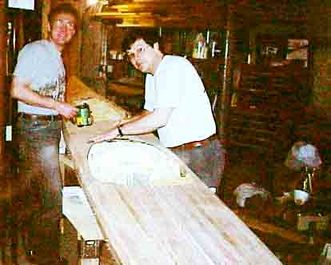
24. L to R Kurt Zimmermann and Nick Schade lend a hand sanding the craft's deck

26. The wood is wetted to raise it's compressed fibers in between sanding.
28. ..... creating gentle curves for the rims to affix to.
|