Fiberglass/Carbon Fiber Lay Up
1. The deck was separated from the hull suspended. This was followed by removing the mold from the hull section and suspending this too.
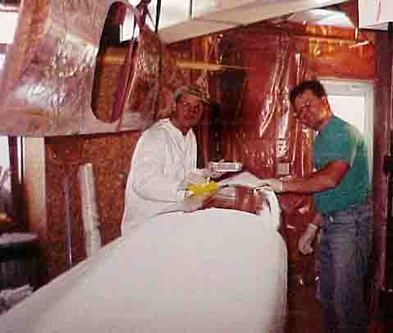
3. The fiberglass cloth layers are positioned on the hull. A neighbor, Roland Fricke, is shown here helping Clark Eid wet out the fabric with epoxy. The epoxy was mixed in small batched and quickly applied before it hardened. Pressing the epoxy liquid into the fiberglass cloth had to be done carefully and with a lot of waste to avoid pushing foam bubbles into the cloth, which would result in a cloudy layer rather than a clear, transparent layer.
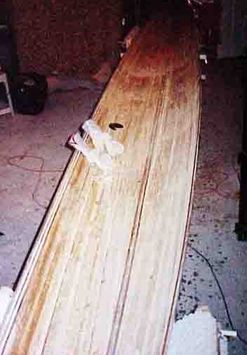
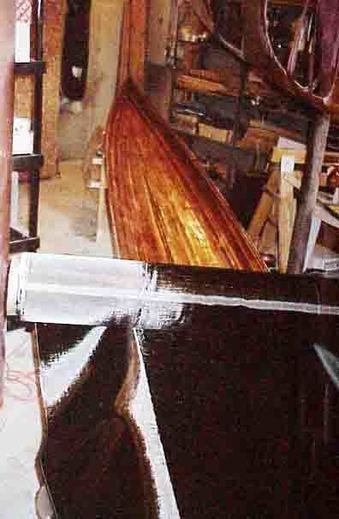
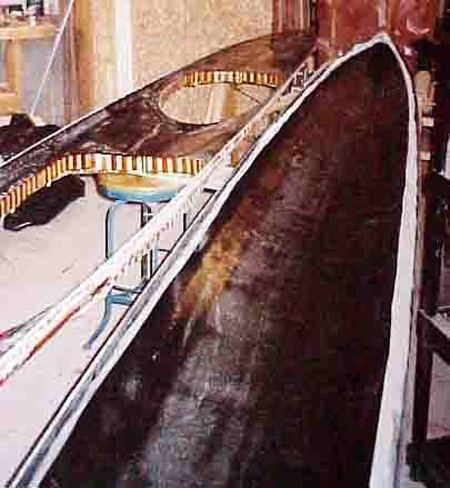
5. The "glassing" of the hull is now finished. Note the excess fiberglass cloth hanging from the overturned hull. Now it's time to work on the interior of the hull before going to the deck.
|
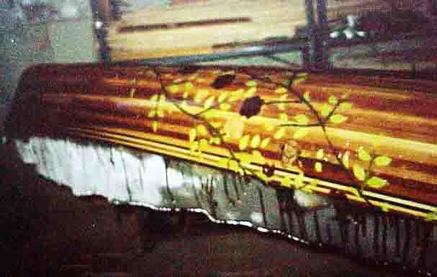
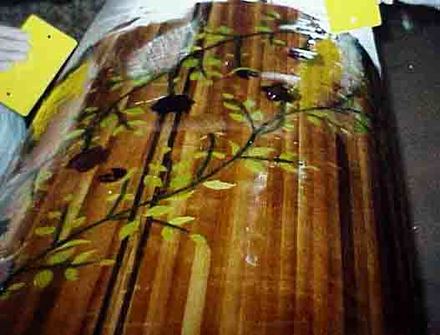
2. This shows a marquetry section on the over-turned hull that has been prepared by the sanding of epoxy seal coats. A big problem developed when the green dyed leaves expectantly reacted with the epoxy and foamed. All the leaves needed additional sanding and sealing before the fiberglass was added.
4. Squeegies (in yellow) are used to draw the epoxy across the cloth.
6. The interior of the hull is scraped fair.
|
7. A sealing coat of epoxy added.
9. And wetted out with epoxy. Unlike the fiberglass cloth, this isn't as easy to see if this material is saturated since it stays black. The reflection of bright lights off the material's surface was used to see if the material is saturated and affixed to the hull. Clark Eid in picture.
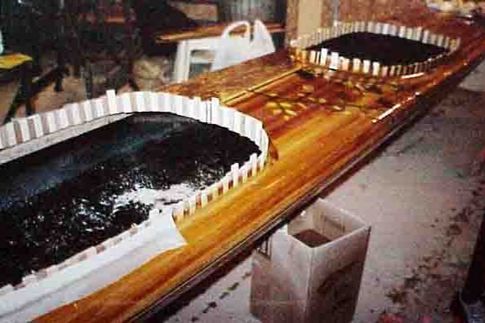
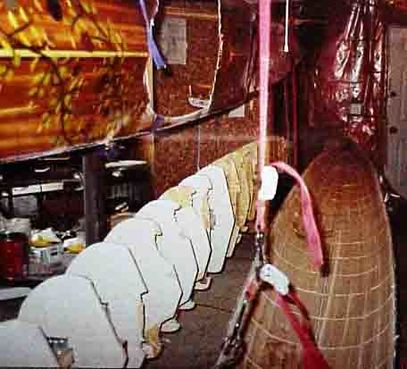
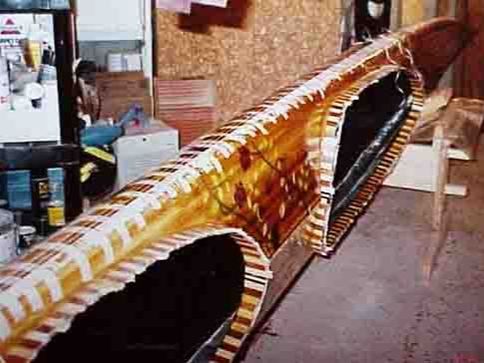
11. After the deck's outside is fiber glassed, a series of vertical wooden strips made from cedar and spruce are added for the cockpit's rim. These are then affixed with fiberglass cloth.
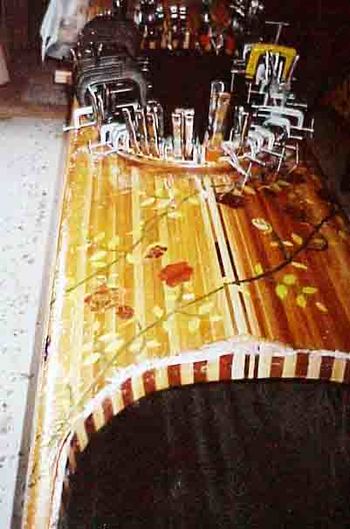
13. An insane number of assorted clamps were used to bend and epoxy the thin strips of Yellow Heart and Red Blood and delicate ornate marquetry around the cockpit rims. The results were spectacular!
15. Unfortunately, and much to the builder's surprise, the hull had distorted while off the mold! This problem was corrected using several removable spacers. The cords were used for pulling out the spacers after the upper and lower hulls were sealed along the seam.
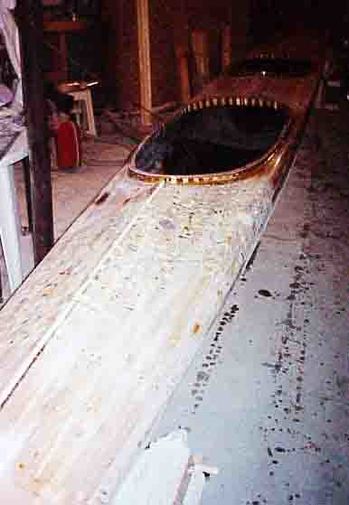
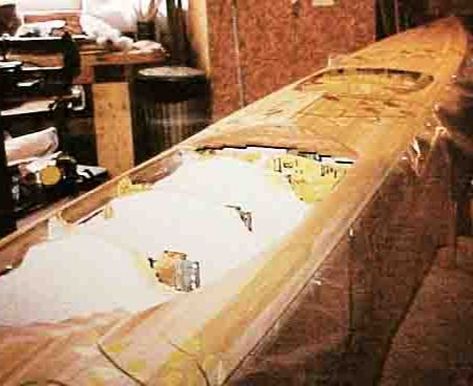
17. The outer packing tape was removed and a seam of fiberglass tape added. Three interior bulkhead plates (premade from fiber-glassed cedar stripped plates.) Then the craft was sanded.
19. Enough of the craft was ready to bring it to the Wooden Boat Show 2000, held at Mystic Seaport. This was the first public showing of the Double Helix.
|
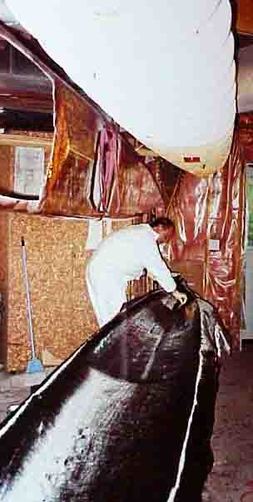
8. The carbon fiber cloth is rolled into position. Not shown was an additional 8 inch keel strip underneath the full layer. Likely not needed given the strength of the carbon fiber, but was there for precaution if Kurt and Clark found themselves seesawing over logs...which happened frequently in the race!
10. The form was put back into the hull and the deck added. Strips of Flame Cherry were added to help make the forward edge of the cockpit rims. The lower hull was protected with plastic sheets to avoid sticking. (That would be a separate step.)
12. The deck is turned over and its interior done with carbon fiber. This is a very delicate operation since there is little structural strength between the cockpit and the trim-line. Then, additional fiberglass stips are used to secure the cockpit rims.
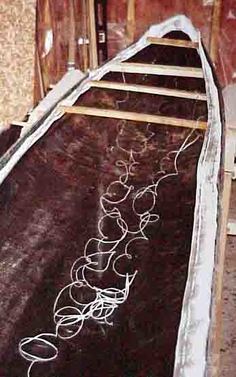
14. Fiberglass tape was tacked in place along the interior seam using hot melt glue in anticipation for joining the deck to the hull.
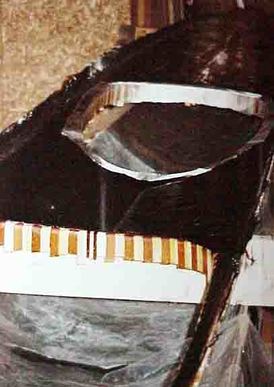
16. The deck was taped (packing tape) to the hull for wetting out the inner seam. This was complicated by the need to work carefully around the spacers with a brush tied to a broom handle so as to not make them permanent!
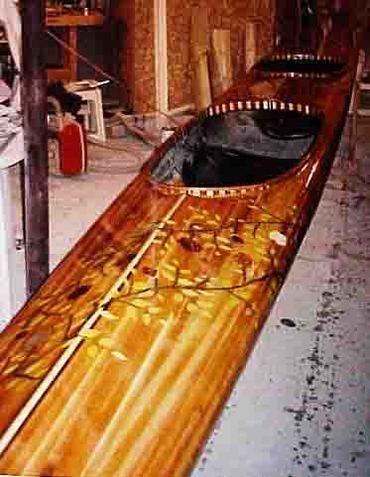
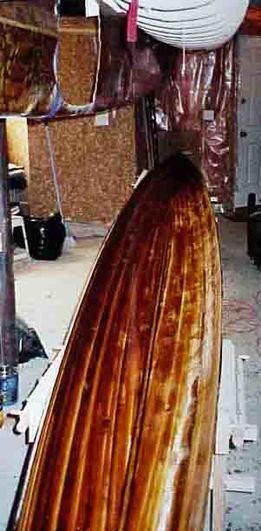
18. ......and varnished repeatedly. (Deck hatches were added later.)
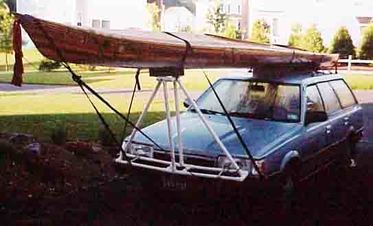
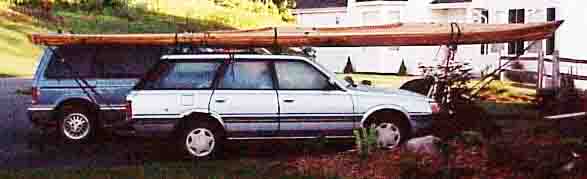
20. Photo shows how the Double Helix was transported. An A-frame of plastic pipe was made for additional support. Our 1988 Subaru in the photo is fondly known as "recovery vehicle alpha". The kayak was light enough, at 100 pounds, that Clark could load the kayak on the contraption by himself.
|